Putting together your Ikea bed frame might seem tricky at first, but with the right steps, you can do it quickly and easily. You don’t need to be an expert or have special tools.
Imagine how satisfying it will feel to see your new bed ready to use, built by your own hands. In this guide, you’ll find simple instructions that save you time and avoid frustration. Ready to turn those flat-packed pieces into a sturdy, stylish bed?
Let’s get started!
Tools Needed
Putting together an Ikea bed frame is easier with the right tools. Using the correct tools makes the job faster and safer.
Most Ikea bed frames come with some tools, but having your own set helps. Below are the key tools you need to gather before starting.
Allen Wrench
An Allen wrench is a small L-shaped tool used to tighten hex screws. Ikea often includes one with the bed frame parts.
If the wrench is missing, you can use a set of Allen wrenches from a toolbox. Using the right size prevents stripping the screws.
Screwdriver
You will need a screwdriver for some screws on the bed frame. Most Ikea beds use a Phillips head screwdriver.
A good screwdriver with a comfortable handle helps you work faster. A magnetic tip can hold screws in place while you work.
Hammer Or Rubber Mallet
A hammer or rubber mallet helps to fit pieces tightly. Use a rubber mallet to avoid damaging wood or painted surfaces.
Light taps with the mallet can join parts securely without leaving marks. Avoid heavy hammering to protect the frame.
Measuring Tape
Measuring tape helps check if parts line up correctly. It ensures the bed frame fits the mattress and room space.
Measure twice before screwing parts together. This reduces errors and saves time fixing mistakes.
Optional: Power Drill
A power drill can speed up assembly but is not required. Use it with care to avoid overtightening screws.
If you use a drill, choose a low torque setting. This protects the wood and the screw heads from damage.

Credit: www.reddit.com
Unboxing And Sorting Parts
Putting together an Ikea bed frame starts with unboxing all the parts carefully. This step helps you see what you have and avoid missing pieces.
Sorting parts before assembly saves time and makes the process smoother. It also helps you understand how the bed frame fits together.
Open The Box Carefully
Use a box cutter or scissors to open the packaging. Cut along the edges to avoid damaging the contents inside.
Remove all items gently and place them on a flat surface. Keep the instruction manual nearby for easy reference.
Identify All Parts
Look at the instruction manual to check the list of parts. Match each item from the box with the list to confirm you have everything.
Check for wooden pieces, metal parts, screws, bolts, and any small items. Group similar parts together for easy access.
- Wooden bed frame panels
- Metal support bars
- Screws and bolts
- Allen key or tools
- Slats or mattress support pieces
Sort And Organize Parts
Place all screws and small hardware in separate containers or bowls. This prevents losing them during assembly.
Arrange large parts by type and size. This helps you find pieces quickly as you follow the instructions.
- Group screws by size
- Keep tools close
- Stack wooden panels neatly
- Lay metal bars flat
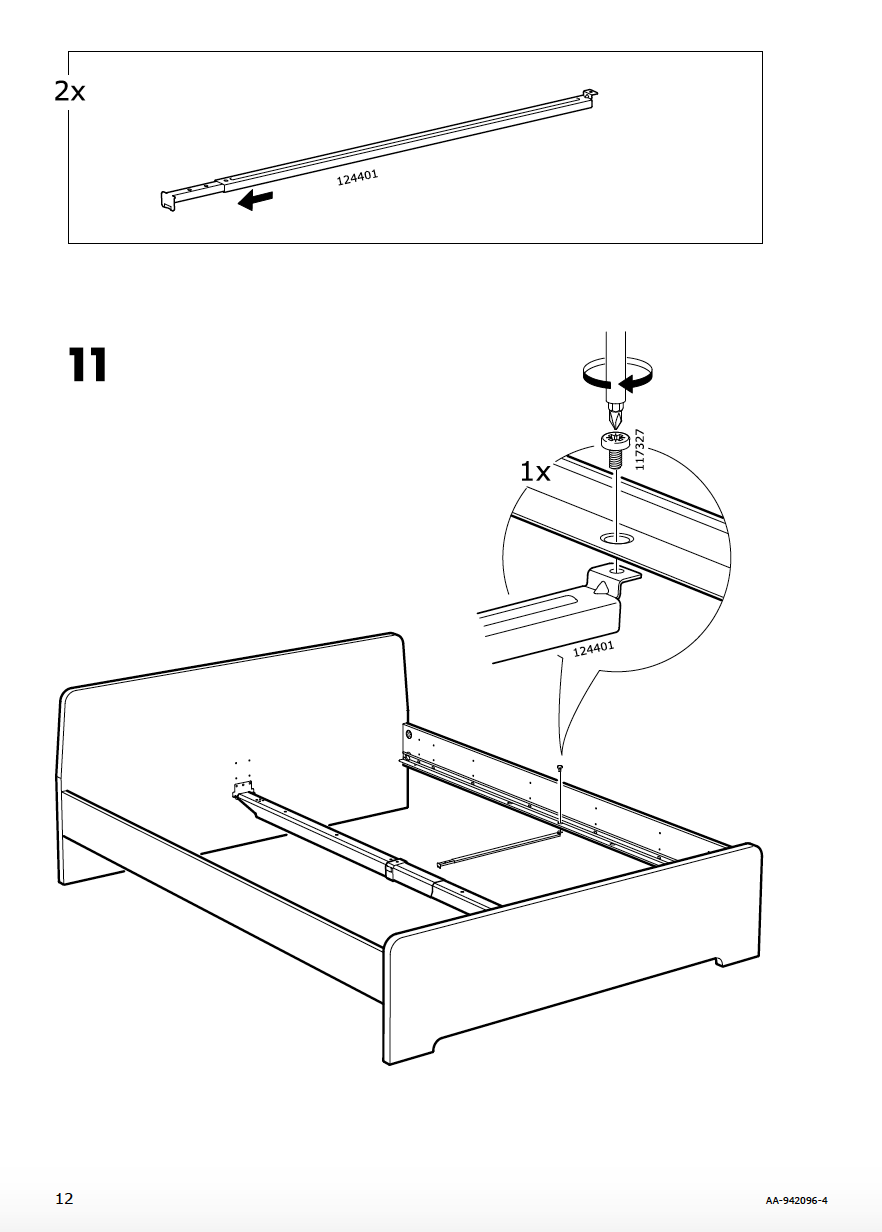
Assembling The Side Rails
Putting together the side rails is an important part of building your Ikea bed frame. These rails support the mattress and connect the headboard and footboard.
Follow these steps carefully to make sure your bed frame is strong and stable.
Identify The Side Rails And Hardware
Start by finding the side rails in your box. They are usually the longest wooden pieces. Also, locate the screws, bolts, and any metal brackets needed for assembly.
- Two wooden side rails
- Screws or bolts matching the instructions
- Metal brackets or connectors
- Allen key or screwdriver
Attach Connectors To The Side Rails
Next, fix the metal connectors or brackets to each end of the side rails. These help the rails fit securely into the headboard and footboard.
Use the screws and tools provided. Tighten the screws but do not overtighten to avoid damage.
Connect Side Rails To Headboard And Footboard
Lift the side rails and fit the connectors into the slots on the headboard and footboard. Push firmly until they click or fit tightly.
Make sure both sides are even and secure before moving on.
Check And Tighten All Screws
After connecting the side rails, check all screws and bolts once more. Tighten them to ensure the frame is stable.
- Use the right tools for tightening
- Do not use too much force
- Make sure rails do not wobble
Credit: medium.com
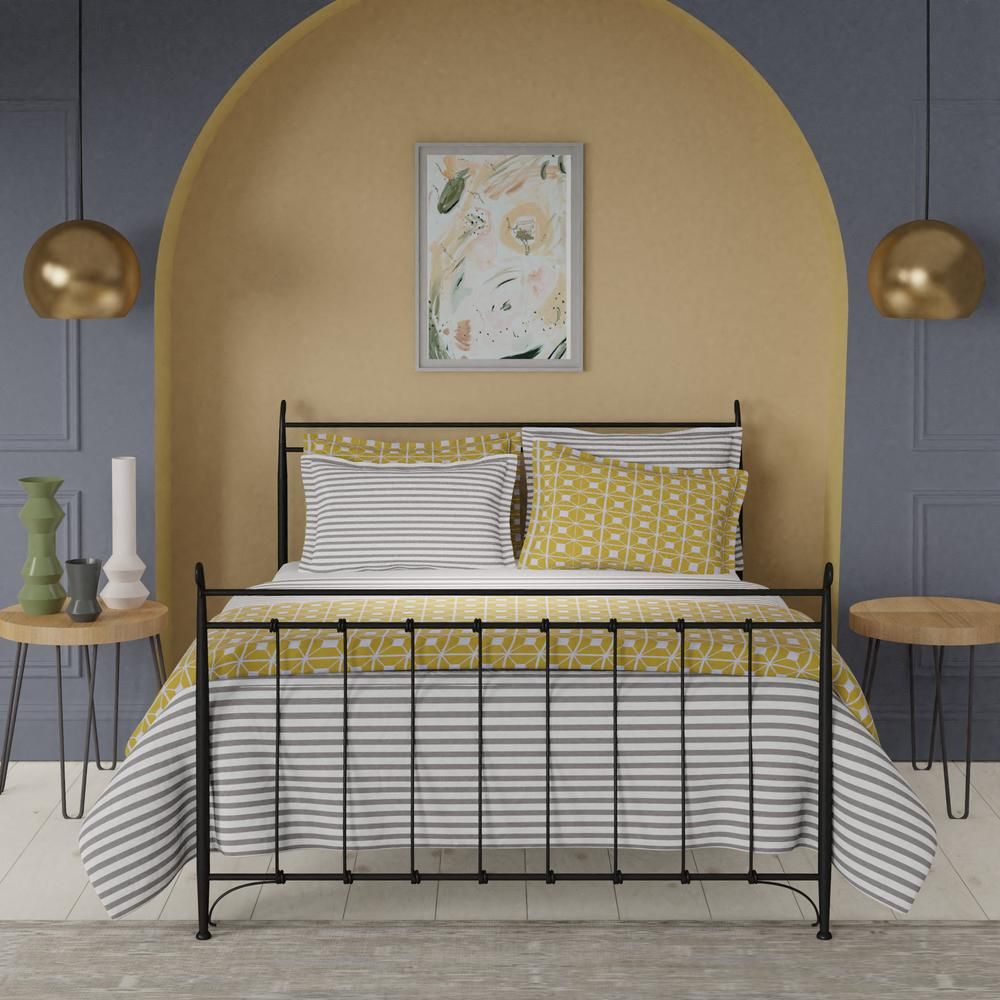
Connecting The Headboard And Footboard
Putting together your Ikea bed frame starts with connecting the headboard and footboard. This step helps create the basic shape of the bed.
Follow simple instructions to attach these parts correctly. Make sure the pieces fit well before tightening screws.
Align The Headboard And Footboard
Place the headboard and footboard upright on a flat surface. Check the holes and slots where they will connect.
Keep the sides facing inward so you can connect the side rails easily. Make sure both pieces are straight and stable.
Attach The Side Rails
Slide the side rails into the slots on the headboard and footboard. Push them in until they fit snugly.
Make sure the rails are level and even on both sides. This will keep the bed frame strong and balanced.
- Locate metal brackets on the rails
- Insert brackets into headboard slots
- Repeat on footboard side
- Check alignment before tightening
Secure With Screws And Bolts
Use the screws and bolts from your Ikea kit to fasten the rails to the headboard and footboard. Use a screwdriver or Allen key.
Tighten each screw firmly but do not overtighten. This prevents damage to the wood and keeps the frame solid.
- Find all screw holes on brackets
- Insert screws in each hole
- Tighten screws evenly
- Double-check for loose parts
Check Stability And Adjust
After connecting all parts, press gently on the frame. Look for any wobbling or loose connections.
If the frame moves, loosen screws slightly and realign the parts. Then tighten screws again for a firm fit.
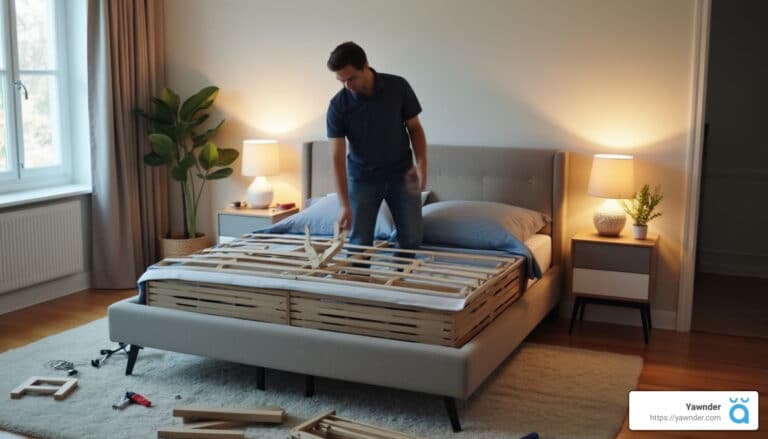
Installing The Slats
The slats are the horizontal pieces that support your mattress. Installing them properly keeps the bed strong and comfortable.
This guide will help you place the slats on your Ikea bed frame step by step.
Prepare The Bed Frame
First, make sure the bed frame is fully assembled and stable. Check that all screws are tight and the frame is level.
Clear the inside area where the slats will rest. This space needs to be free of debris or obstacles.
Lay Out The Slats
Take the slats out of their package. Arrange them side by side next to the bed frame.
Check each slat for damage or defects before installation.
Place The Slats On The Frame
Start at one end of the bed frame. Lay each slat across the frame’s side rails.
Make sure each slat fits snugly into the notches or holders on the frame.
Secure The Slats
Some Ikea bed frames require screws or plastic caps to hold the slats in place. Use the hardware included with your bed.
- Align the screw holes on the slats with the frame
- Use a screwdriver to fasten the screws tightly
- Check that the slats do not move or shift
Check The Slat Spacing
The slats should have even gaps between them. Too wide gaps can damage your mattress over time.
The recommended spacing is about 2 to 3 inches between each slat.
Securing All Screws And Bolts
Putting together your Ikea bed frame needs careful attention. Securing all screws and bolts keeps the frame strong and safe.
Loose screws can make the bed shaky or unsafe. Tighten each bolt just right to avoid damage to the parts.
Check Each Screw And Bolt Before Assembly
Look at every screw and bolt before you start. Make sure none are missing or damaged. Use the instruction manual to identify each one.
Sort screws by size and type. This saves time when you build and helps avoid mistakes.
Use The Right Tools For Tightening
Use the tools Ikea provides or your own screwdriver and Allen key. The right tool fits the screw or bolt perfectly.
Tighten screws evenly. Avoid forcing them too hard. This stops the frame from cracking or bending.
Tighten Screws In A Cross Pattern
When you tighten screws on large parts, use a cross pattern. Tighten opposite screws step by step.
This method keeps the bed frame balanced and strong. It also helps parts fit together smoothly.
Double-check All Connections
After assembling, go over each screw and bolt again. Make sure everything is tight and secure.
Look for any parts that move or feel loose. Fix these spots before using the bed.
Use Thread Lock For Extra Security
Thread lock glue keeps screws from loosening over time. Apply a small drop on screws if you want more security.
Use thread lock only on screws that you do not plan to remove often. This helps maintain the bed’s strength.
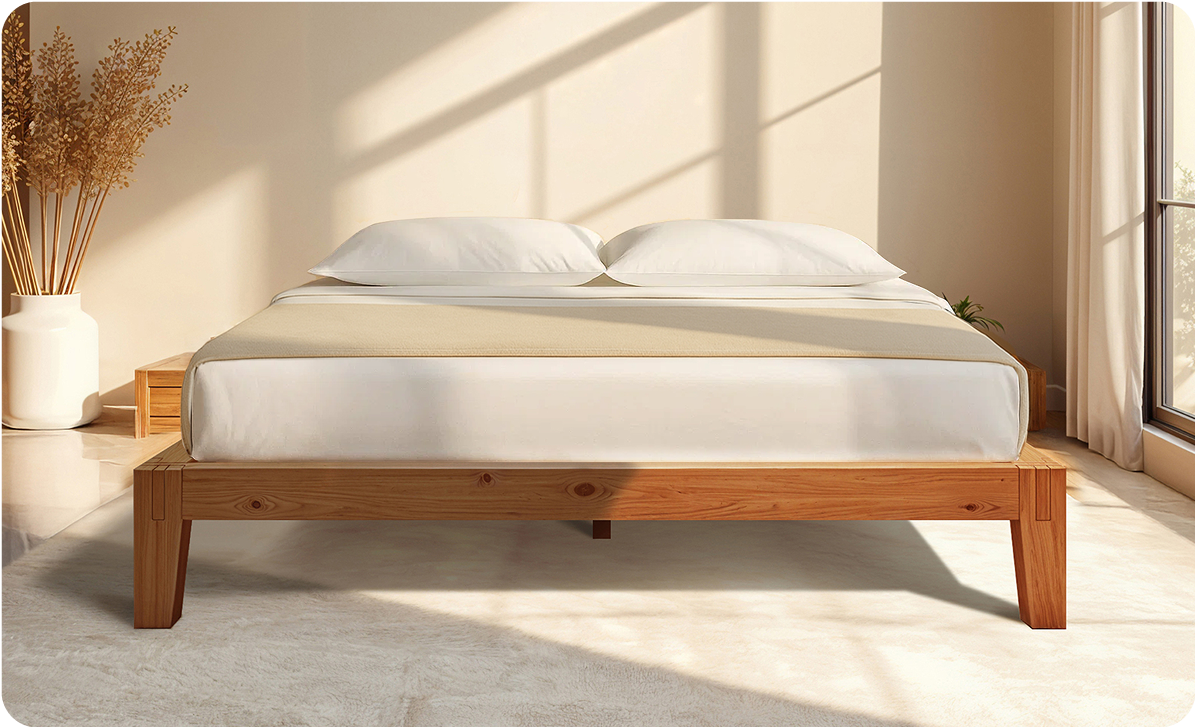
Placing The Mattress
After you finish building the Ikea bed frame, it is time to put the mattress in place. Properly placing the mattress ensures comfort and safety.
Follow simple steps to make sure the mattress fits well on the frame without damage or slipping.
Check The Bed Frame Support
Before placing the mattress, check that the bed frame support is secure. Look at the slats or platform to see if they are even and strong.
Loose or broken parts can cause the mattress to sag or fall. Tighten screws or adjust slats if needed.
Position The Mattress Correctly
Place the mattress flat on the bed frame. Make sure the long side of the mattress matches the frame length.
Center the mattress so it rests evenly on all sides. This helps avoid pressure points and extends mattress life.
Secure The Mattress
If your Ikea bed frame has rails or edges, push the mattress gently against them. This keeps the mattress from sliding.
Use non-slip pads under the mattress if it feels too loose. These pads add grip without harming the mattress or frame.
Check For Comfort And Safety
After placing the mattress, sit and lie down on it to check comfort. Make sure the mattress feels stable and secure.
Look under the bed to confirm the mattress does not hang over or block any parts of the frame.

Credit: www.reddit.com
Common Assembly Mistakes
Building an Ikea bed frame can be easy if you follow the instructions carefully. Many people make simple mistakes that slow down the process.
Knowing these common errors helps you avoid frustration and finish the bed frame faster. Here are some mistakes to watch out for.
Not Checking All Parts First
Opening the box and not sorting all the parts can cause problems. Missing pieces or extra parts can confuse you during assembly.
Take time to check everything before starting. This saves you from stopping in the middle to find missing parts.
Ignoring The Instructions
Many skip reading the full instructions before starting. This leads to putting parts in the wrong place or using the wrong screws.
Follow each step carefully. The instructions are made to help you build the frame correctly and safely.
Overtightening Screws
Using too much force on screws can damage the wood or strip the holes. This makes the frame weaker and harder to fix later.
Tighten screws until they are snug but stop before you feel strong resistance. Use a hand screwdriver for better control.
Skipping The Use Of A Helper
Trying to build the bed frame alone can make the job harder. Some parts are large or heavy and need two people to hold them steady.
Ask a friend or family member to help. This makes assembly safer and faster.
Assembling On The Wrong Surface
Building the bed frame on a hard or uneven surface can cause scratches or parts to slip. It also makes it harder to keep everything aligned.
Use a soft, flat surface like a carpet or blanket. This protects the parts and helps keep the frame stable while you work.
Mixing Up Similar Parts
Some Ikea bed frames have pieces that look very similar. Putting the wrong parts together can cause the frame to be unstable or not fit properly.
Compare parts carefully before attaching them. Match shapes and sizes exactly as shown in the instructions.
Maintenance Tips
Keeping your Ikea bed frame in good shape helps it last longer. Regular care can prevent damage and keep it sturdy.
Simple maintenance tasks protect your bed frame and keep it safe to use every night.
Tighten Screws Regularly
Check all screws and bolts every few months. Tighten any that feel loose to keep the frame stable.
Loose screws can cause noise and make the frame less safe.
Clean The Frame Gently
Use a soft cloth to dust your bed frame. Avoid harsh cleaners that may damage the finish.
Regular cleaning prevents dirt buildup and keeps the frame looking new.
Protect From Moisture
Keep your bed frame dry to stop wood or metal parts from rusting or warping. Avoid placing it near water sources.
If spills happen, wipe them up quickly to prevent damage.
Avoid Overloading The Frame
Do not put too much weight on your bed frame. Follow Ikea’s weight limit to avoid bending or breaking parts.
Keep heavy items off the frame to maintain its strength.
Check For Wear And Tear
Look at all parts of the frame regularly. Replace any broken or worn pieces quickly to avoid bigger problems.
Early repair keeps your bed safe and comfortable.
Frequently Asked Questions
How Do I Start Assembling My Ikea Bed Frame?
Begin by organizing all the parts and tools included in the package. Follow the instruction manual step-by-step, starting with the bed's main frame. Ensure you have a clean workspace to avoid losing screws or tools. Check if all parts are in perfect condition before starting the assembly process.
What Tools Do I Need For Ikea Bed Assembly?
Most Ikea bed frames come with an Allen wrench. However, you might need a screwdriver and a rubber mallet. A power drill can be helpful, but it's not always necessary. Ensure you have these tools handy for a smooth assembly process, making it easier and faster.
How Long Does It Take To Assemble An Ikea Bed?
On average, assembling an Ikea bed frame takes about 1 to 3 hours. The time varies based on the bed model and your familiarity with Ikea furniture. Taking breaks and following instructions carefully can make the process more efficient and enjoyable.
Can I Assemble An Ikea Bed Frame Alone?
Yes, assembling an Ikea bed frame alone is possible. However, having a second person can be helpful, especially for larger models. A partner can assist in holding parts together and ensuring alignment, making the process quicker and preventing potential mistakes.
Conclusion
Assemble your Ikea bed frame step by step with care. Follow the instructions closely for smooth progress. Take your time to avoid mistakes or missing parts. Use basic tools and check all pieces before starting. A solid bed frame adds comfort and style to your room.
Enjoy your new bed after a simple setup. Now, rest well and relax in your cozy space.