Are you ready to upgrade your sleep experience with an adjustable bed frame? Assembling one might seem tricky, but it doesn’t have to be.
With the right steps, you can have your new bed frame set up quickly and easily. In this guide, you’ll find simple instructions that anyone can follow—no special tools or skills needed. Keep reading, and you’ll discover how to build your adjustable bed frame with confidence, so you can start enjoying comfort tailored just for you.

Credit: www.amazon.ca
Tools Needed
Assembling an adjustable bed frame is easier when you have the right tools. These tools help you put the parts together safely and quickly.
Gathering all tools before starting saves time and reduces frustration during assembly.
Screwdriver
A screwdriver is needed to tighten screws and bolts. Most adjustable bed frames require a Phillips head screwdriver.
- Use a Phillips head for cross-shaped screw slots
- A flathead screwdriver can be handy for prying or adjustments
- Consider a magnetic screwdriver to hold small screws
Allen Wrench (hex Key)
An Allen wrench fits into hexagonal screw heads. Many adjustable bed frames include these screws for stronger joints.
- Check if your bed frame comes with an Allen wrench
- Having a set of different sizes helps if you lose one
- Use the correct size to avoid stripping the screws
Adjustable Wrench
An adjustable wrench helps tighten or loosen nuts and bolts. It fits many sizes, so one tool works for many parts.
- Turn the wrench to fit the size of the bolt
- Hold bolts steady while tightening screws
- Use it carefully to avoid scratching the frame
Rubber Mallet
A rubber mallet is useful to gently tap pieces into place without damage. It is softer than a metal hammer.
- Use to connect tight-fitting parts
- Tap frame corners to align properly
- Avoid using a metal hammer to prevent dents
Measuring Tape
Measuring tape helps check the bed frame size and spacing. It ensures parts fit correctly before assembly.
- Measure frame width and length
- Check distance between bolt holes
- Confirm mattress size matches frame
Preparing The Workspace
Before you start assembling your adjustable bed frame, get your workspace ready. A clean and open area helps you work safely and quickly.
Having enough room to move around and organize parts makes the process easier and less stressful.
Clear The Area
Remove any furniture or items blocking your workspace. This gives you space to lay out parts and tools.
A clear area helps prevent accidents and lost pieces during assembly.
Prepare The Floor
Use a soft surface like a rug or carpet to protect the bed frame parts. This also prevents scratches on the floor.
If the floor is hard, lay down a blanket or foam pads before starting.
Gather Necessary Tools
Collect all tools needed for assembly. Check the instruction manual for a tool list.
- Screwdrivers
- Allen wrenches
- Wrenches or pliers
- Rubber mallet (optional)
Having tools ready saves time and keeps you focused on building the frame.
Organize Bed Frame Parts
Sort all pieces by size and type. Lay them out in order for easy access.
- Group screws and bolts in small containers
- Place large parts near the center of workspace
- Keep the instruction manual nearby
This organization helps you find parts quickly and reduces mistakes.
Ensure Good Lighting
Set up bright lights so you can see small parts and instructions clearly. Natural light or lamps work well.
Good lighting prevents errors and keeps your eyes comfortable during assembly.
Unpacking The Components
Before you start building your adjustable bed frame, unpack all parts carefully. Lay them out in a clear space to see everything.
Check the parts list to make sure nothing is missing or damaged. This step saves time during assembly.
Frame Sections
The frame sections are the main parts of the bed. Usually, they come in two or three pieces that connect together.
Handle these sections with care. They can be heavy and large. Make sure no parts are bent or scratched.
Motor And Wiring
The motor controls the bed's movement. It comes with wires and a remote control. Keep these parts safe from damage.
Check the wiring for any cuts or loose ends. Do not plug in the motor until assembly is complete.
Legs And Support Bars
The legs support the bed frame. They often come separately and need to be attached during assembly.
Support bars add strength and stability. Make sure you find all these parts and count them carefully.
- Count all legs and check for screws or bolts included
- Look for support bars of different lengths
- Note any extra brackets or connectors
Hardware Pack
The hardware pack contains screws, nuts, bolts, and washers. These small parts hold everything together.
Open the pack carefully. Sort the hardware by type to find them easily during assembly.
- Screws for frame and motor attachment
- Bolt sets for legs and support bars
- Washers and nuts for secure fitting
Remote Control And Batteries
The remote control lets you adjust the bed's position. It often requires batteries, which may or may not be included.
Check the remote for any damage. If batteries are included, keep them ready for later use.
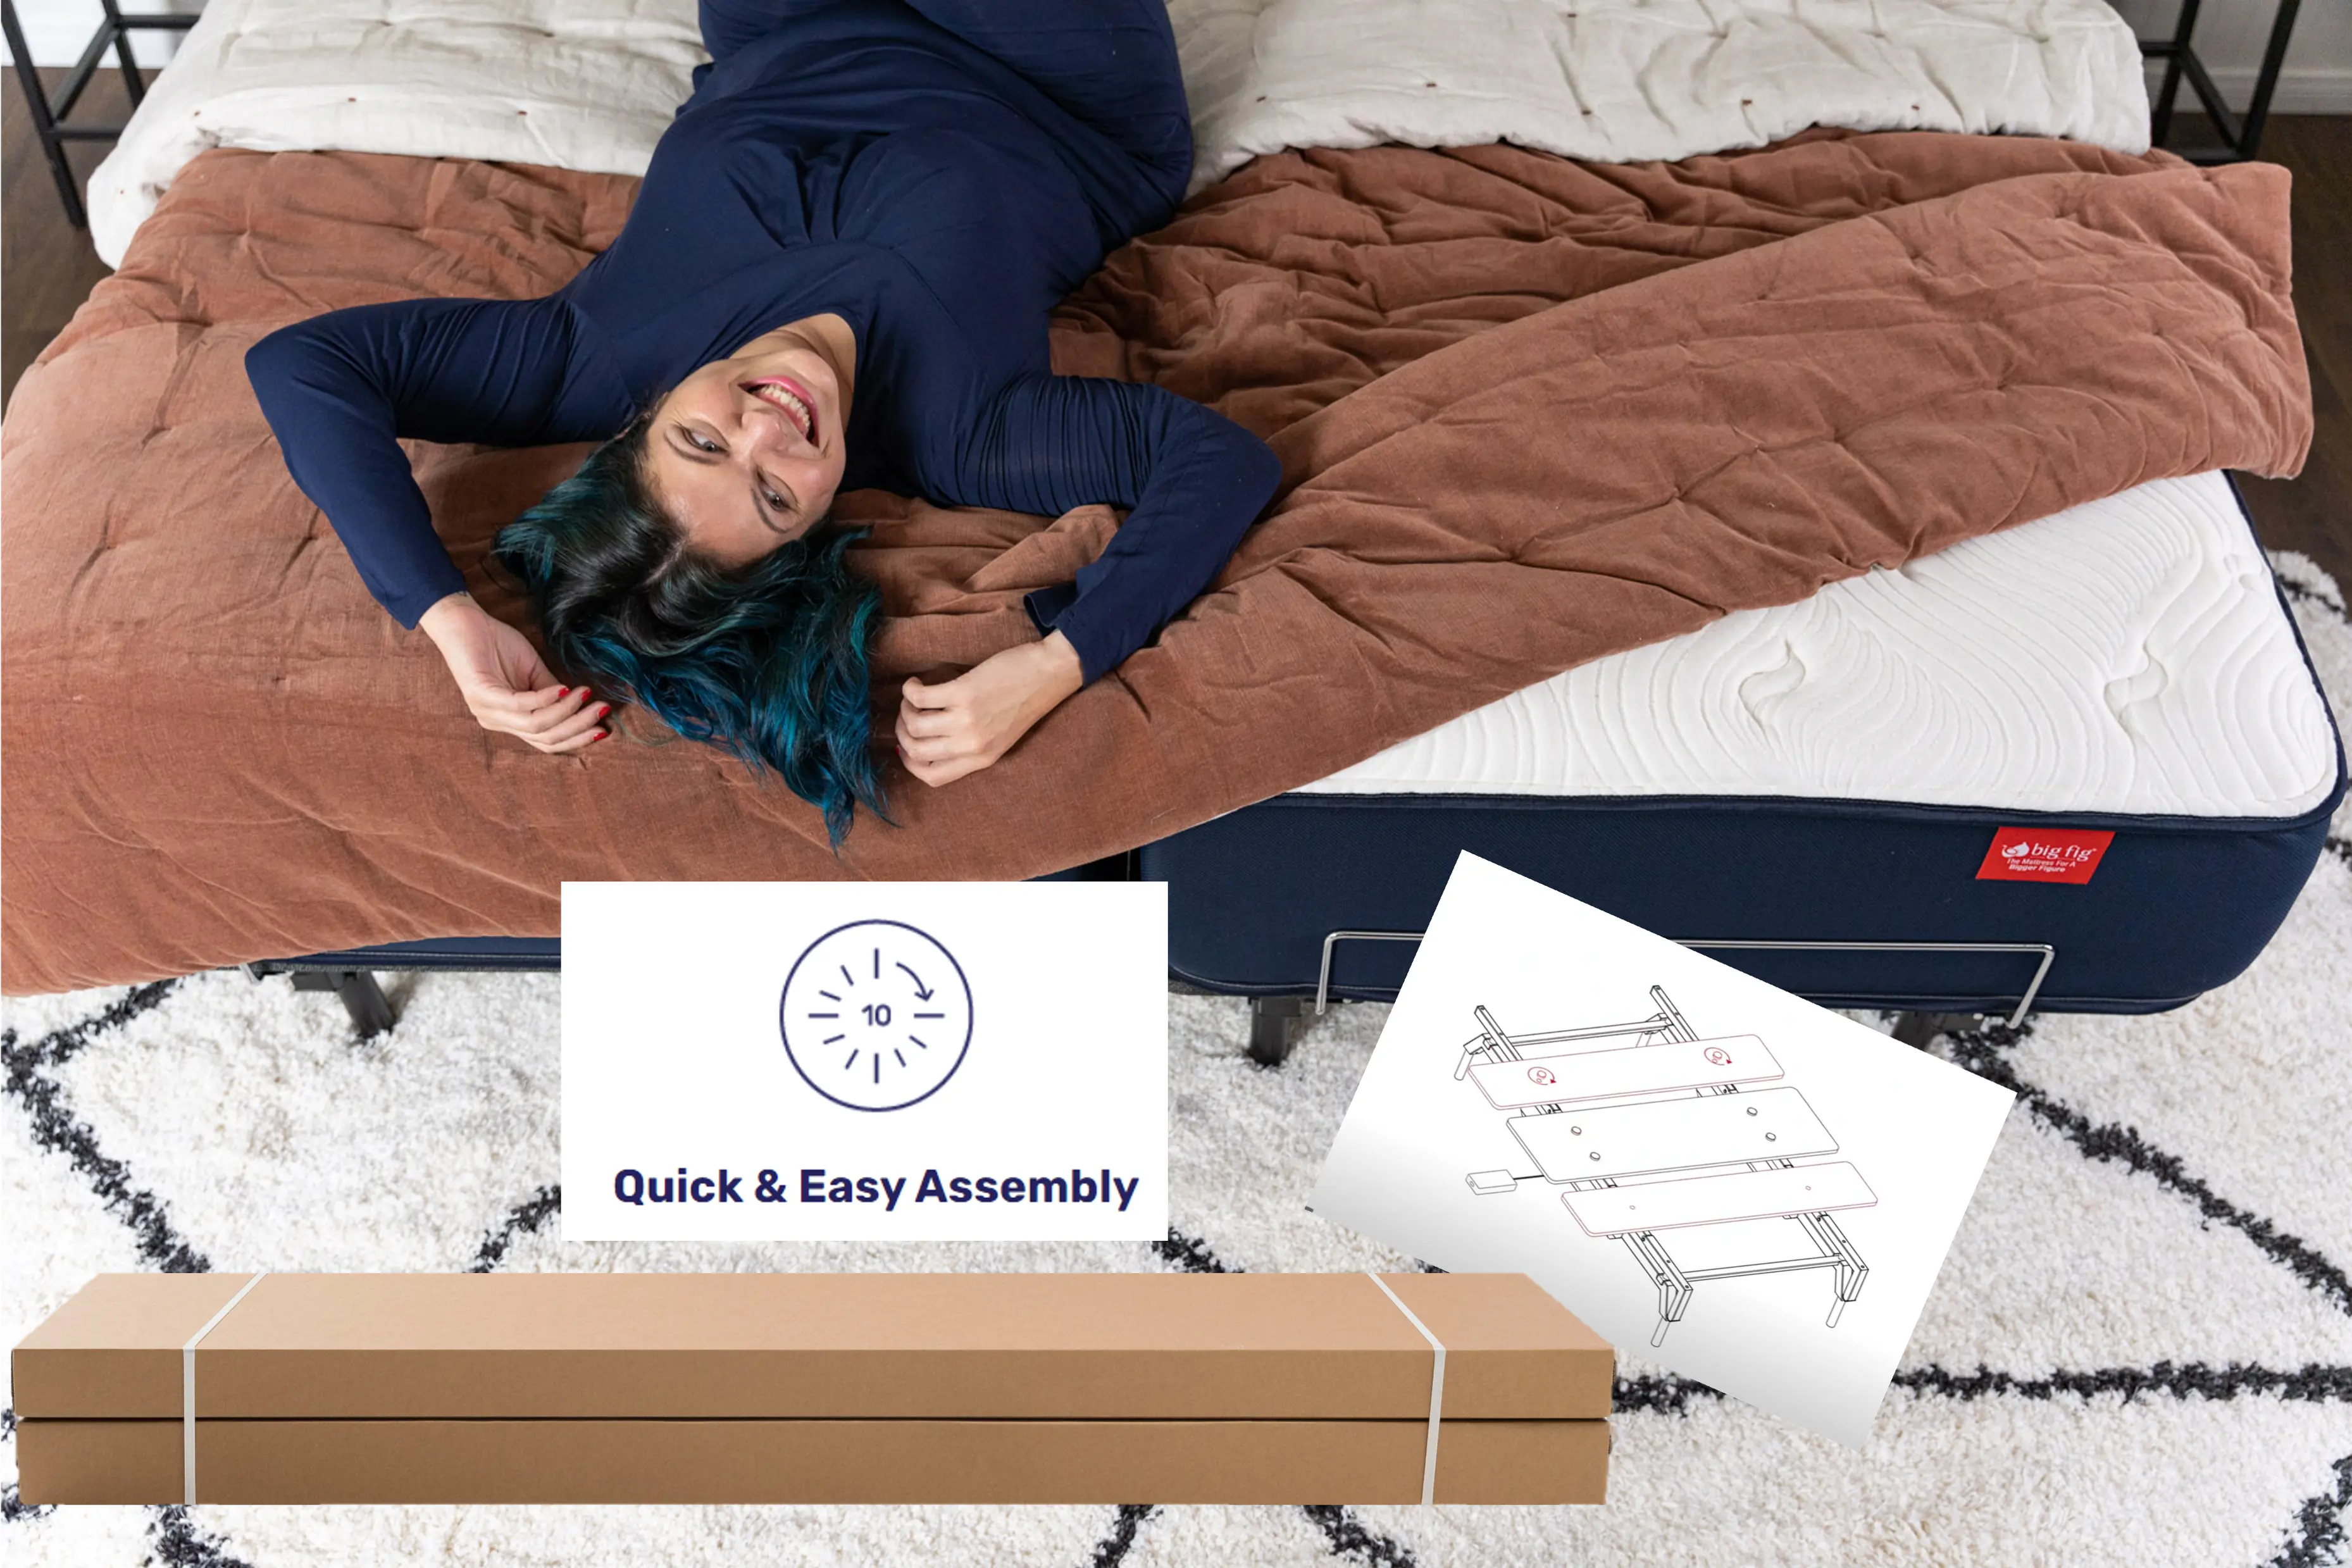
Credit: www.bigfigmattress.com
Assembling The Base Frame
Assembling the base frame is the first step to build your adjustable bed. It provides a strong foundation for all other parts.
Follow the instructions carefully to connect all parts securely. This ensures the bed will work safely and last longer.
Connecting The Side Rails
Start by laying out the side rails on a flat surface. The side rails are long metal pieces that form the sides of the frame.
Attach the side rails to the head and foot rails using the bolts and screws provided. Make sure the holes line up perfectly.
- Align the holes on side rails with head and foot rails
- Insert bolts through the holes
- Tighten bolts with a wrench or screwdriver
- Check that the frame feels stable and square
Attaching The Support Legs
Support legs hold the bed frame off the ground and carry the weight of the mattress and sleeper. Place them evenly along the frame.
Use the screws or bolts to attach each leg to the base frame. Tighten them well to avoid any wobbling or movement.
- Find the designated holes for support legs on the frame
- Position each leg under its hole
- Secure legs with screws or bolts
- Double-check each leg is firm and stable
Installing The Adjustable Mechanism
Installing the adjustable mechanism is key to making your bed frame work properly. This part controls how the bed moves up and down.
Follow the instructions carefully to position and secure the parts correctly. This will keep your bed frame stable and safe.
Positioning The Motor
The motor is the heart of the adjustable bed frame. Place it where it can move the bed easily without blocking other parts.
Usually, the motor sits under the middle section of the frame. Make sure it is centered and aligned with the bed’s moving parts.
- Find the motor mounting bracket under the frame
- Align the motor with the bracket holes
- Check that the motor cable can reach the power source
- Do not force the motor into a tight spot
Securing The Hinges
Hinges connect the bed frame parts and allow them to move smoothly. Secure them tightly to avoid wobbling.
Use the screws and bolts provided with your kit. Tighten them evenly on both sides of the hinges for balance.
- Place hinges at the designated spots on the frame
- Insert screws into all hinge holes
- Tighten screws with a screwdriver or wrench
- Check that hinges move without resistance

Credit: www.levasleep.com
Connecting The Power Supply
Connecting the power supply is an important step when assembling an adjustable bed frame. It powers the motors that move the frame.
Make sure to handle the power supply carefully. Follow the instructions to ensure safety and proper connection.
Locate The Power Cord And Adapter
First, find the power cord and adapter that come with your bed frame. The adapter usually has a label with voltage information.
Check that the power cord fits your wall outlet and that the adapter matches your bed frame's power port.
Connect The Power Adapter To The Bed Frame
Find the power input port on the bed frame motor box. This is where the adapter plugs in.
Insert the adapter plug fully into the port. It should fit snugly without forcing it.
Plug The Power Cord Into The Wall Outlet
After connecting the adapter to the frame, plug the power cord into a nearby wall outlet. Use a grounded outlet for safety.
Avoid using extension cords or power strips unless they are rated for the bed’s power needs.
Check For Power And Function
Turn on the bed frame using the remote or control box. Test the adjustable functions to make sure power flows correctly.
- If the bed does not respond, check all connections again.
- Ensure the wall outlet has power by testing with another device.
- Refer to the user manual if you have trouble.
Testing The Adjustments
After assembling your adjustable bed frame, testing the adjustments is important. It helps you make sure everything works well.
Check each moving part to confirm smooth and safe operation before using the bed fully.
Raising And Lowering The Head
Test the head section by raising and lowering it slowly. Use the control to lift the head to a comfortable angle.
Lower the head back down and listen for any strange noises. The movement should be smooth without jerks.
- Start with a low angle and increase it step by step
- Pause briefly at each position to check stability
- Check if the head section locks firmly in place
- Make sure the controls respond quickly and correctly
Adjusting The Foot Section
Use the controls to raise the foot section. Test how high it can go and how smoothly it moves.
Lower the foot section fully and ensure it rests flat and securely on the frame.
- Move the foot section up slowly to check control precision
- Stop and hold the position to test the locking mechanism
- Lower the foot section without any sudden drops
- Confirm there are no strange sounds or vibrations
Adding The Mattress
Adding the mattress to your adjustable bed frame is an easy process. It ensures comfort and proper fit.
Follow simple steps to place the mattress safely on the frame. This keeps your bed stable and ready to use.
Check Mattress Compatibility
Before placing the mattress, make sure it fits the adjustable frame. Not all mattresses work well with adjustable bases.
Memory foam and latex mattresses often work best. Avoid heavy or stiff mattresses that may not bend easily.
- Measure mattress size to match frame
- Choose flexible mattress types
- Avoid very thick or heavy mattresses
Position The Mattress Carefully
Place the mattress on the frame slowly. Align it so all corners match the frame edges.
Lift the mattress gently with help if needed. Avoid dragging it to prevent damage.
- Align mattress edges with frame edges
- Lift, do not drag the mattress
- Ask for help if mattress is heavy
Secure The Mattress In Place
Some adjustable bed frames have straps or rails to hold the mattress. Use these to keep the mattress stable.
If your frame has no straps, check if the mattress fits snugly. This reduces movement when adjusting the bed.
- Use built-in straps if available
- Ensure mattress fits tightly on frame
- Test mattress stability by moving frame
Maintenance Tips
Keeping your adjustable bed frame in good shape helps it last longer. Regular care prevents problems and keeps it working smoothly.
Follow simple maintenance steps to ensure your bed frame stays safe and comfortable.
Clean The Frame Regularly
Dust and dirt can build up on the bed frame. Wipe it down with a soft cloth every week. This stops rust and keeps moving parts clean.
Use mild soap and water for cleaning. Avoid harsh chemicals that can damage the finish.
Check And Tighten Bolts
Bolts and screws may loosen over time. Check all connections once a month. Tighten them with the right tools to keep the frame stable.
Loose parts can cause noise or reduce safety. Regular checks prevent these problems.
Lubricate Moving Parts
Adjustable bed frames have joints and hinges that move. Use lubricant on these parts to reduce friction. This helps the frame move smoothly and quietly.
- Apply lubricant every 3 months
- Use silicone spray or light machine oil
- Wipe off extra oil to avoid dirt buildup
Inspect The Electrical Components
If your bed frame has electrical parts, check them regularly. Look for damaged wires or loose plugs. Unplug the frame before cleaning or inspection.
Contact a professional if you find electrical issues. Do not try to fix wiring yourself.
Avoid Overloading The Frame
Check the weight limit of your adjustable bed frame. Do not put too much weight on it. Overloading can damage the frame and motor.
Distribute weight evenly to keep the frame balanced and working well.
Store Properly When Not In Use
If you need to store the bed frame, keep it in a dry place. Protect it from moisture to avoid rust. Cover it with a cloth or plastic sheet.
Store the frame flat to prevent bending or damage.
Frequently Asked Questions
How Long Does It Take To Assemble An Adjustable Bed Frame?
Typically, assembling an adjustable bed frame takes about 30 to 60 minutes. Time depends on the model and your experience. Clear instructions and necessary tools speed up the process. Preparing the workspace before starting also helps complete assembly efficiently.
What Tools Are Needed To Assemble An Adjustable Bed Frame?
Most adjustable bed frames require basic tools like a screwdriver, wrench, or Allen key. Some models include all necessary tools in the package. Check the instruction manual before starting to ensure you have everything needed for smooth assembly.
Can One Person Assemble An Adjustable Bed Frame Alone?
Yes, many adjustable bed frames can be assembled by one person. However, having a second person helps with lifting heavy parts. It also speeds up the process and ensures safety during assembly.
How Do I Ensure My Adjustable Bed Frame Is Assembled Safely?
Follow the manufacturer’s instructions carefully and use recommended tools. Assemble the frame on a flat surface and avoid forcing parts. Double-check all bolts and screws are tightened securely to prevent accidents.
Conclusion
Assembling an adjustable bed frame is easier than it seems. Follow each step with care and patience. Use the right tools and check all parts before starting. Take your time to avoid mistakes or damage. Soon, you will enjoy your new adjustable bed comfortably.
A well-assembled frame supports better rest and relaxation. Keep the instruction manual handy for future reference. Enjoy the benefits of your adjustable bed every night. Simple steps lead to a sturdy, functional frame. You did a great job building your bed!