Taking your bed frame apart might seem tricky at first, but it doesn’t have to be. Whether you’re moving, redecorating, or just need to fix something, knowing how to dismantle your bed frame quickly and safely can save you a lot of time and hassle.
In this guide, you’ll discover simple steps and useful tips that make the whole process straightforward. Stick with me, and by the end, you’ll feel confident handling your bed frame like a pro. Ready to get started? Let’s dive in!

Credit: www.reddit.com
Tools Needed
Taking a bed frame apart is easier with the right tools. Having these tools ready saves time and effort.
Here are the main tools you need to safely dismantle a bed frame at home.
Screwdriver
A screwdriver is needed to remove screws holding the frame parts together. Choose the correct type for your screws.
- Phillips head screwdriver for cross-shaped screws
- Flathead screwdriver for straight slot screws
- Electric screwdriver can speed up the process
Allen Wrench (hex Key)
Many bed frames use hex bolts that need an Allen wrench. This tool fits into the bolt's hexagonal shape.
- Check the bolt size before choosing your wrench
- Many bed frames include a matching Allen wrench
- A set with multiple sizes is helpful
Wrench Or Adjustable Spanner
A wrench helps loosen nuts and bolts that hold the frame. An adjustable spanner fits many sizes of nuts.
- Use the right size to avoid damaging bolts
- Adjustable spanners save space in your toolbox
- Keep a firm grip to avoid slipping
Rubber Mallet
A rubber mallet is good for gently tapping frame parts apart. It avoids damage that a metal hammer can cause.
Use it to loosen tight joints without scratching the wood or metal.
Pliers
Pliers help hold nuts or bolts steady while you loosen them. They also help pull out stubborn nails or staples.
- Use locking pliers for better grip
- Needle-nose pliers reach tight spaces
- Keep pliers clean for smooth operation
Prepare The Bed Frame
Taking a bed frame apart is easier when you prepare well. Start by getting the space ready and removing bedding.
Preparing the bed frame helps avoid damage and makes the process smooth. Follow simple steps to get ready.
Clear The Area
Clear the space around the bed to have room to work. Move furniture and items out of the way.
Make sure the floor is clean and free of obstacles. This helps prevent accidents and protects the bed parts.
- Remove chairs, tables, and other furniture nearby
- Clear small objects from the floor
- Leave enough space to lay down bed parts safely
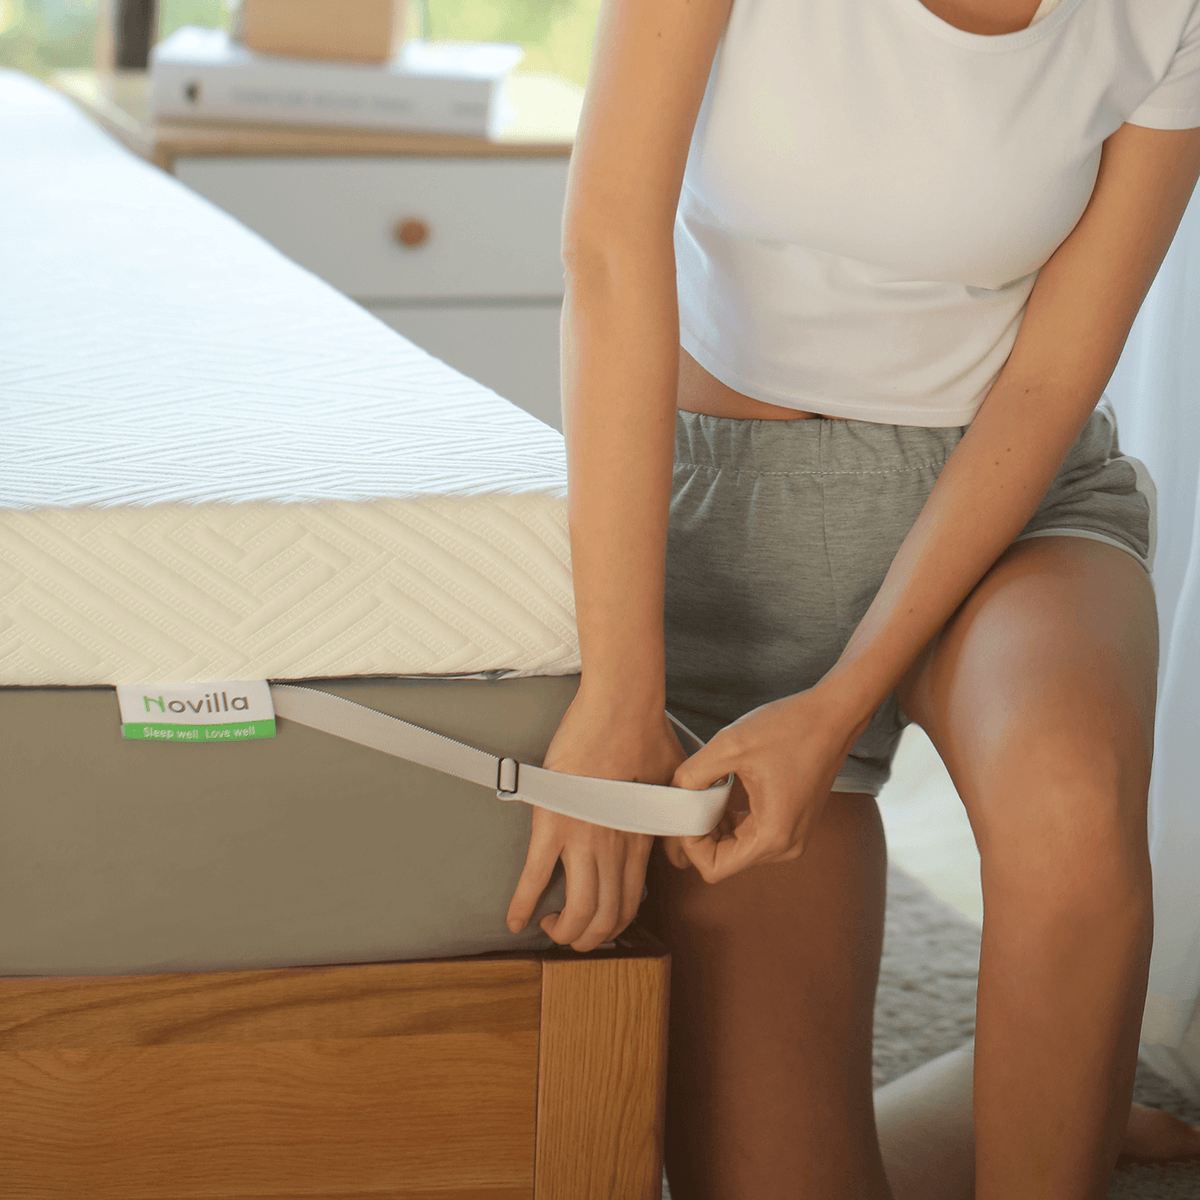
Remove Bedding And Mattress
Take off all sheets, blankets, pillows, and the mattress. This makes the bed lighter and easier to handle.
Put bedding in a clean place. It helps keep everything organized and ready for later use.
- Strip off sheets and pillowcases
- Remove blankets and comforters
- Lift the mattress carefully and set it aside
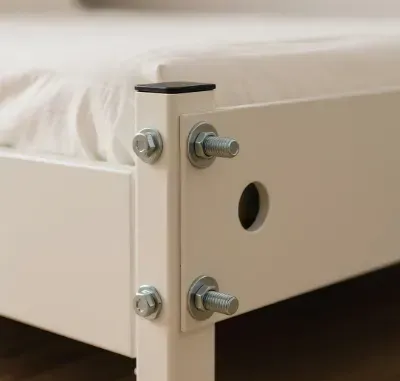
Locate Fasteners
Taking apart a bed frame starts with finding all the fasteners. Fasteners hold the parts of the frame together. Knowing where they are helps you remove them safely.
Fasteners can be hidden or in plain sight. Look carefully around the frame to spot every screw, bolt, or connector.
Identify Screws And Bolts
Screws and bolts are the main fasteners in a bed frame. Screws usually have a sharp point and go into wood. Bolts have a flat end and use nuts to hold parts together.
Look closely at the frame corners and side rails. Screws often hold wood parts. Bolts connect metal parts or thicker wood pieces.
- Screws have a single piece and thread along the shaft
- Bolts need a nut to tighten and hold parts
- Screws use a screwdriver; bolts need a wrench or socket
Check For Additional Connectors
Besides screws and bolts, bed frames may have other connectors. These include brackets, clips, or dowels. They keep parts stable and need to be removed too.
Check joints and corners for metal plates or wooden pegs. These connectors can hide behind side rails or under slats.
- Brackets are metal pieces secured with screws or bolts
- Clips lock parts together and can snap off
- Wooden dowels fit into holes and need gentle tapping out

Credit: www.reddit.com
Remove Side Rails
Removing the side rails is a key step to take a bed frame apart. Side rails hold the headboard and footboard together.
Make sure you have the right tools and a clear workspace before starting.
Locate The Fasteners
Look for screws, bolts, or brackets that attach the side rails. These fasteners are usually near the corners.
Identify the tools needed to remove these fasteners. Common tools are screwdrivers and wrenches.
Unscrew Or Unbolt The Side Rails
Use the proper tool to unscrew or unbolt the fasteners. Turn counterclockwise to loosen.
Keep the screws and bolts safe for reassembly or disposal later.
Carefully Remove The Side Rails
After removing all fasteners, gently pull the side rails away from the headboard and footboard.
Ask for help if the rails are heavy or large to avoid injury or damage.
Store Or Dispose Of The Side Rails
Place the side rails in a safe spot if you plan to keep them. Wrap fragile parts to prevent scratches.
If you want to get rid of the rails, check local recycling or donation options.
Detach Headboard And Footboard
Taking a bed frame apart can be simple if you know how to remove the headboard and footboard. These parts are usually attached with screws or bolts.
Removing them carefully helps prevent damage and makes moving or storing easier. Use the right tools and follow the steps below.
Prepare Your Tools
Gather the tools before you start. Most headboards and footboards use screws or bolts that need a screwdriver or wrench.
- Screwdriver (Phillips or flathead)
- Adjustable wrench or socket set
- Flashlight (for dark areas)
- Pen and paper (to keep track of screws)
Locate Attachment Points
Find where the headboard and footboard connect to the bed frame. These spots have screws or bolts holding them in place.
Check both sides of the frame to ensure you remove all fasteners. Some beds have extra brackets or clips to hold the parts.
Remove Screws Or Bolts
Use the screwdriver or wrench to turn screws or bolts counterclockwise. Keep the fasteners safe for reassembly or disposal.
If a screw is tight, apply steady pressure. Avoid stripping the screw head by using the correct tool size.
Detach The Headboard And Footboard
Once all screws or bolts are removed, gently pull the headboard and footboard away from the frame. They should come off easily.
If they feel stuck, check for any missed fasteners or brackets. Use a soft tool like a rubber mallet to tap if needed.
Disassemble Slats And Support Beams
Taking apart a bed frame can be simple if you focus on the slats and support beams. These parts hold the mattress and keep the bed sturdy.
Removing these pieces carefully helps avoid damage and makes moving easier. Follow clear steps to disassemble them safely.
Remove The Slats
Slats are the horizontal boards that hold the mattress. They usually rest on the side rails or are screwed in place.
First, check if the slats are loose or fixed. If they are loose, simply lift each slat out one by one. For fixed slats, use a screwdriver to remove screws.
- Clear the bed surface to work comfortably
- Lift each slat gently to avoid cracking
- Use the right screwdriver size for screws
- Keep screws in a safe place for reassembly
Detach The Support Beams
Support beams run lengthwise under the slats. They add strength to the bed frame and connect to the legs or side rails.
To remove support beams, first find how they are attached. Most beams are screwed or slotted into place. Unscrew or slide them out carefully.
- Locate all screws or bolts holding the beams
- Use a screwdriver or wrench to remove fasteners
- Lift the beam straight up to avoid bending
- Store hardware safely for later use
Organize And Store Hardware
Taking a bed frame apart can create a lot of small parts. These parts include screws, bolts, and washers. Keeping them organized helps you find them later.
Proper storage stops hardware from getting lost or mixed up. It also makes reassembling easier and faster.
Sort Hardware By Type
Sort all screws, bolts, and washers into groups. This way, you can quickly find the right piece later.
- Keep screws separate from bolts
- Put washers in their own group
- Separate any special parts or brackets
Use Small Containers
Place each type of hardware in a small container. Use jars, plastic bags, or boxes with lids. This keeps parts safe and clean.
- Label each container with its contents
- Use clear containers to see inside easily
- Keep lids tight to avoid spills
Keep Hardware Close To Bed Parts
Store hardware near the bed frame parts. This way, all pieces stay together. It helps prevent losing anything.
Use a box or a tray to hold both hardware and wooden parts. This keeps everything in one place.
Label Everything Clearly
Write clear labels on containers and boxes. Include the type of hardware and where it belongs on the bed frame.
- Use a marker or printed labels
- Attach labels with tape or sticky notes
- Keep labels easy to read
Store Hardware In A Safe Place
Place the hardware containers in a dry, safe spot. Avoid damp areas to stop rust or damage.
Choose a place where children or pets cannot reach the small parts. This keeps everyone safe.

Credit: www.youtube.com
Tips For Reassembly
Taking a bed frame apart is easy with the right steps. Putting it back together is just as important.
Following these tips will help you reassemble your bed frame safely and quickly.
Keep All Parts Organized
Sort all screws, bolts, and small pieces into containers. This prevents losing parts during reassembly.
Label parts or use a tray to keep them in place. It makes finding each piece easier when needed.
Follow The Original Order
Rebuild the bed frame in the reverse order you took it apart. This helps avoid mistakes and missing steps.
Use photos or notes taken before disassembly to guide you through the process.
Tighten Screws Gradually
Start by loosely fitting all screws and bolts. Tighten them only after all parts are in place.
This method keeps the frame aligned and prevents damage to the wood or metal.
Check For Damaged Parts
Inspect each piece for cracks or wear before putting it back. Replace damaged parts to keep the bed safe.
Using worn parts can cause the bed frame to be unstable or unsafe.
Use Proper Tools
Use the right tools for screws and bolts. This helps avoid stripping or damaging fasteners.
- Screwdrivers for screws
- Wrenches for bolts
- Rubber mallet for gentle taps
Test Stability Before Use
After reassembly, press the frame gently to check for movement or noise.
Tighten any loose parts and make sure the frame sits flat on the floor.
Frequently Asked Questions
How Do I Safely Disassemble A Bed Frame?
Start by removing the mattress and bedding. Use the correct tools, like screwdrivers or Allen wrenches. Keep bolts and screws in a container. Work slowly to avoid damage. Follow the bed frame’s manual if available.
What Tools Are Needed To Take A Bed Frame Apart?
Common tools include screwdrivers, Allen wrenches, and pliers. Some frames require a socket wrench. Check your bed frame instructions for specific tools. Having a toolkit handy speeds up the process.
How Long Does It Take To Disassemble A Bed Frame?
Disassembly usually takes 20 to 45 minutes. Time depends on the bed frame type and your experience. Complex frames may take longer. Working carefully prevents damage and speeds reassembly later.
Can I Disassemble A Bed Frame Alone?
Yes, but it’s easier with two people. One person can hold parts steady while the other unscrews. For heavy or large frames, extra help prevents injury and damage.
Conclusion
Taking apart a bed frame can be simple with the right steps. Use basic tools like a screwdriver or wrench. Keep all screws and parts safe for easy reassembly. Work slowly and carefully to avoid damage. Clear space helps you move parts easily.
Follow each step to finish the job faster. You will save time and effort by staying organized. Now, you can move or store your bed frame without trouble. Simple tasks can feel easier with clear instructions.