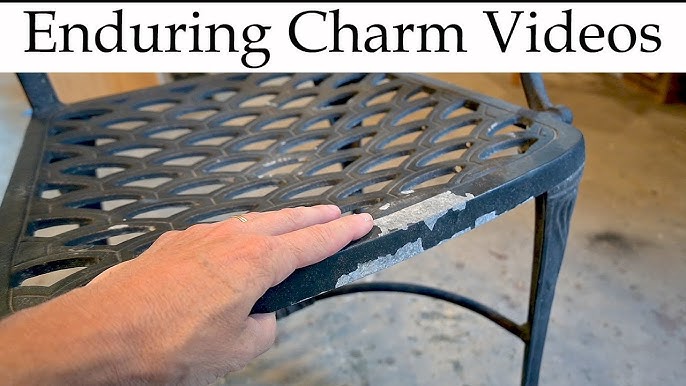
Your outdoor furniture can transform your backyard into a cozy, inviting space. But over time, wood can fade, crack, or lose its charm.
Staining your wood furniture is a simple way to bring back its beauty and protect it from the elements. If you want your furniture to look fresh, last longer, and feel like new, this guide will show you exactly how to stain wood outdoor furniture with ease.
Keep reading—you’ll learn step-by-step tips that anyone can follow, even if you’ve never done it before.

Credit: www.benjaminmoore.com
Choosing The Right Wood Stain
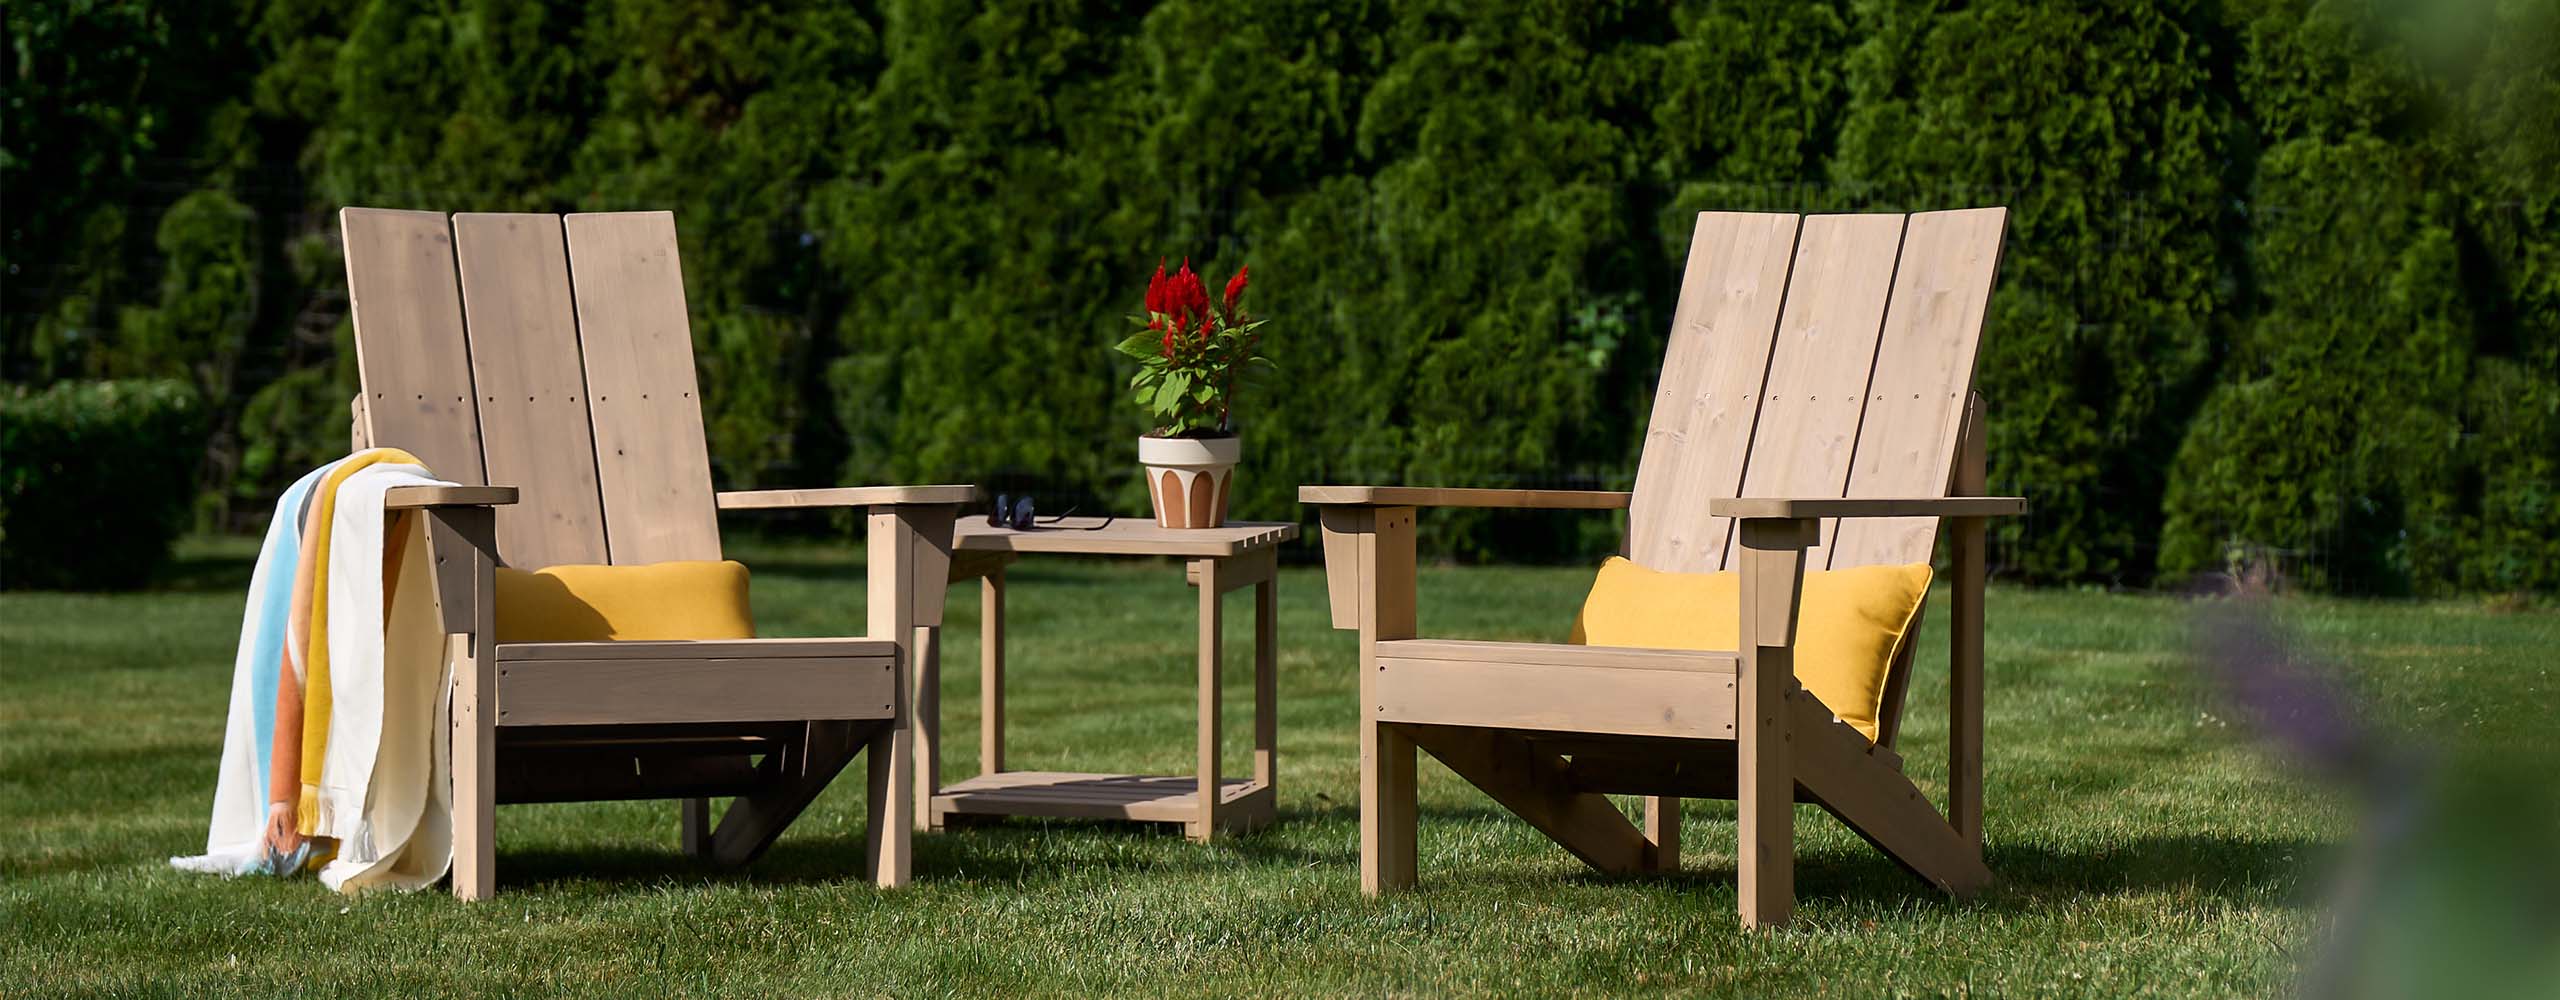
Staining outdoor wood furniture protects it from weather damage. It also enhances the wood’s natural beauty.
Choosing the right stain is important. The right one keeps your furniture looking good for years.
Types Of Stains For Outdoor Use
There are several types of wood stains for outdoor furniture. Each type has different features and uses.
- Oil-Based Stains:Penetrate deep into wood and last long.
- Water-Based Stains:Dry quickly and are easy to clean up.
- Semi-Transparent Stains:Show wood grain while adding color.
- Semi-Solid Stains:Hide some wood grain and protect well.
- Solid Stains:Cover wood completely like paint but still allow wood to breathe.
Factors To Consider For Durability
Durability depends on the stain’s ability to resist sun, rain, and temperature changes. Look for stains with UV protection.
Check if the stain is water-resistant and prevents mold or mildew. These features help your furniture last longer outdoors.
- UV protection shields wood from sun damage
- Water resistance prevents water absorption
- Mold and mildew inhibitors stop fungal growth
- Ease of reapplication keeps maintenance simple
Color Selection Tips
Choose colors that match your outdoor space and furniture style. Lighter colors reflect heat and reduce fading.
Test a small area first. Colors may look different on wood than on the stain can.
- Natural wood tones keep a classic look
- Dark colors hide stains but may fade faster
- Light colors show wood grain and resist heat
- Match stain color with other outdoor elements
Preparing Wood Furniture
Preparing your outdoor wood furniture is important before staining. Clean and fix the wood for best results.
Good preparation helps the stain soak in evenly and last longer on the wood.
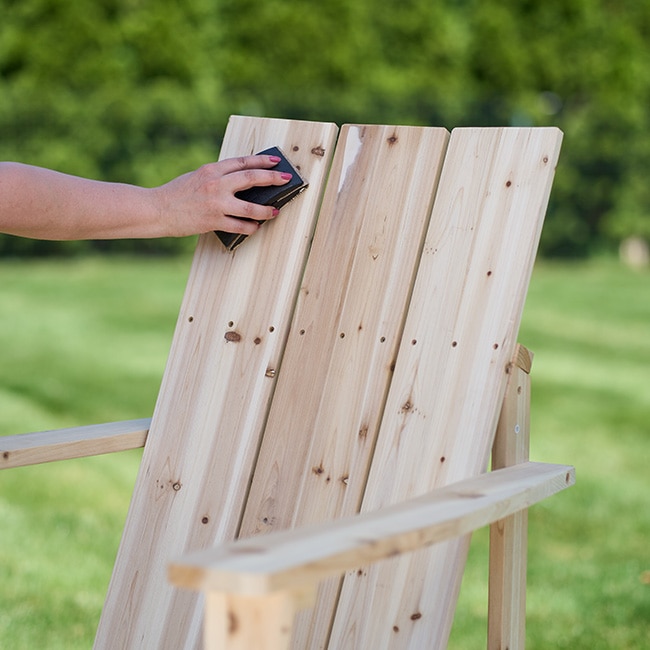
Cleaning And Sanding
Start by cleaning the furniture to remove dirt and dust. Use mild soap and water with a soft brush.
Let the wood dry completely. Then sand the surface with fine-grit sandpaper to smooth rough spots.
- Use a soft brush or cloth for cleaning
- Rinse with clean water
- Let wood dry fully before sanding
- Sand with 120 to 150 grit sandpaper
- Sand along the wood grain for best finish
Repairing Damages
Check the furniture for cracks, holes, or loose joints. Fix these before staining.
Use wood filler for small cracks and holes. Tighten screws or glue loose parts to secure the furniture.
- Fill cracks with wood filler
- Let filler dry and sand smooth
- Tighten screws or bolts
- Use wood glue for loose joints
- Remove damaged parts if needed
Removing Old Finish
Old paint or stain can stop new stain from soaking in. Remove old finish before you start.
Use a chemical stripper or sand the furniture to remove old coatings. Always follow safety instructions.
- Apply chemical stripper with a brush
- Wait as directed, then scrape off finish
- Sanding can remove thin old finishes
- Wear gloves and work in a ventilated area
- Clean surface after finish removal
Applying Wood Stain
Staining wood outdoor furniture protects it from weather damage. It also brings out the natural beauty of the wood.
Applying stain is easy if you have the right tools and follow simple steps. This guide will help you get a smooth finish.
Tools You Will Need
Gathering the right tools makes staining faster and cleaner. Use these to prepare and apply the stain well.
- Sandpaper or sanding block
- Clean cloths or rags
- Paintbrush or foam brush
- Wood stain of your choice
- Gloves to protect your hands
- Drop cloth or plastic sheet
- Stir stick for mixing stain
- Protective mask (optional)
Step-by-step Staining Process
Follow these steps to stain your outdoor furniture evenly and clearly. Take your time to avoid mistakes.
- Sand the wood surface to smooth rough spots.
- Wipe off dust with a clean cloth.
- Stir the wood stain well before use.
- Apply stain with a brush in the direction of the grain.
- Let the stain soak into the wood for a few minutes.
- Wipe off excess stain with a clean cloth.
- Allow the furniture to dry completely.
- Apply a second coat if a darker color is desired.
Tips For Even Application
Use these tips to get a smooth and even stain on your furniture. This helps the wood look great and last longer.
- Work in a shaded, dry area to avoid quick drying.
- Always test stain on a small hidden spot first.
- Apply thin coats instead of thick layers.
- Keep a wet edge to avoid lap marks.
- Use long, smooth brush strokes along the wood grain.
- Wipe away extra stain to prevent blotches.
- Clean brushes and tools immediately after use.
Credit: www.benjaminmoore.com
Sealing And Protecting
Sealing and protecting outdoor wood furniture keeps it safe from weather damage. A good sealant stops water and sunlight from ruining the wood.
Proper sealing also extends the life of your furniture. It keeps the wood looking fresh and prevents cracks and warping.
Choosing The Right Sealer
Pick a sealer made for outdoor wood. Look for water-resistant and UV-protective features. These protect wood from rain and sun damage.
Sealers come in different types like oil-based, water-based, and varnishes. Each has its own benefits for furniture protection.
- Oil-based sealers soak deep into wood and last longer
- Water-based sealers dry faster and have less smell
- Varnishes give a shiny finish and strong protection
Application Techniques
Clean the wood before applying sealer. Remove dirt, dust, and old finish. Use sandpaper to smooth rough areas.
Apply the sealer with a brush or cloth in thin, even coats. Let each coat dry fully before adding another.
- Work in the direction of the wood grain
- Use a brush for hard-to-reach corners
- Apply two or three coats for best protection
Maintenance For Longevity
Check your furniture every year for wear. Clean it regularly with mild soap and water. Avoid harsh chemicals.
Reapply sealer as needed to keep protection strong. This helps prevent damage from rain, sun, and bugs.
- Inspect for cracks or peeling finish
- Lightly sand rough spots before resealing
- Store furniture indoors during harsh weather if possible
Common Mistakes To Avoid
Staining outdoor wood furniture can make it look great and last longer. Some mistakes can ruin your work. Avoid these common errors to get the best results.
Understanding what not to do is as important as knowing how to stain. Let's look at some common problems people face.
Overstaining
Applying too much stain can cause uneven color and sticky surfaces. Thick layers take longer to dry and may peel.
Use a small amount of stain and wipe off the extra. This helps the wood absorb the stain evenly and look natural.
- Apply thin coats of stain
- Wipe off excess immediately
- Let each coat dry before adding another
Ignoring Weather Conditions
Staining in bad weather affects how the stain dries. Rain, high humidity, or strong sun can cause problems.
Choose a dry day with mild temperatures. Avoid staining in direct sunlight or when rain is near.
- Check the weather forecast before starting
- Work in shaded areas if possible
- Wait for a few dry days after staining
Skipping Surface Preparation
Not cleaning or sanding the wood first leads to poor stain absorption. Dirt and old finish block the stain.
Always clean your furniture well and sand rough spots. This step makes the wood ready to soak up the stain evenly.
- Wash the furniture to remove dirt
- Sand the wood to smooth the surface
- Remove dust before staining
Refreshing Stained Furniture
Outdoor wood furniture looks great with a fresh coat of stain. Stain protects the wood from weather and wear. Over time, the stain fades or peels, so it needs refreshing.
Refreshing your wood furniture keeps it strong and attractive. You do not need to strip the old stain every time. Simple steps can bring your furniture back to life.
When To Reapply Stain
Check your furniture every year to see if the stain is fading. Signs include dull color, dry wood, or water soaking into the wood. If water does not bead on the surface, it is time to reapply.
Also, if the wood feels rough or splinters, the stain may be gone. Reapply stain before damage gets worse. Early care saves you work later.
Quick Touch-up Methods
For small worn spots, use a clean cloth to apply stain. Lightly sand the area first to remove roughness. Dab the stain and wipe off extra to blend it well.
Use a small brush for detailed or hard-to-reach spots. Let the stain dry fully before using the furniture again. This quick fix keeps your furniture looking fresh.
- Sand rough areas gently
- Apply stain with cloth or brush
- Wipe off extra stain
- Allow full drying time
Seasonal Care Tips
Clean your furniture before staining to remove dirt and mildew. Use mild soap and water with a soft brush. Rinse and let dry completely.
Apply stain in dry weather with temperatures between 50°F and 85°F. Store furniture in shade or cover it during heavy rain or snow. Regular cleaning and re-staining protect your wood all year.
- Clean furniture before staining
- Stain on dry, mild days
- Cover or store in bad weather
- Check and clean every season
Credit: www.benjaminmoore.com
Frequently Asked Questions
How Do You Prepare Wood Furniture For Staining?
To prepare wood furniture for staining, clean it thoroughly and sand the surface. Use a medium-grit sandpaper for effective results. Remove dust with a tack cloth. Ensure the surface is smooth and dry before applying stain. Proper preparation ensures even staining and enhances the wood's natural beauty.
What Type Of Stain Is Best For Outdoor Furniture?
Oil-based stains are ideal for outdoor furniture as they offer durability. They penetrate wood deeply, providing excellent protection against moisture and UV rays. This helps in preserving the wood's natural appearance. Choose a stain with a UV inhibitor for added protection against sun damage.
How Many Coats Of Stain Should Be Applied?
Typically, two coats of stain provide optimal coverage and protection for outdoor furniture. The first coat penetrates the wood, while the second enhances color and durability. Allow the first coat to dry fully before applying the second. Follow the manufacturer's instructions for the best results.
How Long Does Wood Stain Take To Dry?
Wood stain usually takes 24 to 48 hours to dry completely. Drying time can vary based on weather conditions and humidity levels. Ensure the furniture is left in a well-ventilated, dry area. Avoid using the furniture until the stain is fully cured to prevent damage.
Conclusion
Staining outdoor wood furniture protects it from weather damage. It also brings out the natural beauty of the wood. Clean and dry the furniture before you start. Use a brush or cloth to apply the stain evenly. Let it dry fully for the best results.
Regular care keeps your furniture looking nice for years. Simple steps make a big difference in wood care. Enjoy your refreshed outdoor space with stained wood furniture.