Putting together a queen bed frame might seem tricky, but with the right steps, you can do it quickly and easily. Imagine sinking into your new bed, proud that you built it yourself.
You don’t need special skills or tools—just clear instructions and a little patience. In this guide, you’ll find simple tips that save you time and frustration. Ready to turn those parts into a sturdy, beautiful bed frame? Let’s get started!

Credit: www.walmart.com
Choosing The Right Tools
Putting together a queen bed frame is easier with the right tools. Using proper tools saves time and effort.
Before you start, gather all tools you need. This helps avoid interruptions during assembly.
Essential Tools Needed
Some tools are necessary for any queen bed frame assembly. These tools help you attach parts securely.
- Screwdriver (Phillips and flathead)
- Allen wrench (usually included)
- Rubber mallet to fit pieces without damage
- Measuring tape to check alignment
- Wrench or pliers for bolts and nuts
Having these tools ready will make assembly smooth and safe.
Optional Tools For Ease
Some extra tools can make the job faster or easier. These are not required but helpful.
- Power drill with screwdriver bits saves hand effort
- Clamps hold pieces steady while you work
- Level ensures the bed frame is even
- Work gloves protect your hands from splinters
- Flashlight or headlamp helps in dim areas
Using optional tools can reduce mistakes and speed up the process.
Preparing The Workspace
Setting up a good workspace helps you build your queen bed frame easily. A clean and organized area keeps parts safe.
Preparing well also saves time and avoids frustration during the assembly process.
Clearing The Area
Start by clearing the room where you want to build your bed. Remove any furniture or items in the way.
This space needs to be large enough to fit the bed frame and let you move around freely.
- Move furniture to another room or corner
- Vacuum or sweep the floor to avoid dirt
- Make sure there is good lighting in the area
- Keep a trash bin nearby for packaging waste
Organizing Components
Open the bed frame package and sort all parts on the floor or a table. Check the instruction manual for a parts list.
Group screws, bolts, and tools so you can find them quickly while building the frame.
- Lay out wood pieces by size and shape
- Separate hardware like screws, bolts, and washers
- Keep tools such as screwdrivers and wrenches close
- Check for any missing or damaged parts before starting
Identifying Bed Frame Parts
Putting a queen bed frame together starts with knowing each part. Understanding the parts helps you build the frame correctly.
Each bed frame has key pieces that fit together. Learning their names and uses makes assembly easier.
Headboard And Footboard
The headboard is the tall panel at the top of the bed. It supports pillows and stops your head from hitting the wall.
The footboard is the panel at the bottom of the bed. It keeps the mattress in place and adds style.
- Headboard: usually taller and attached at the bed’s head
- Footboard: shorter panel at the foot of the bed
- Both connect to side rails with bolts or hooks
Side Rails And Slats
Side rails are long pieces that run along each side of the mattress. They connect the headboard to the footboard.
Slats are flat boards that lay across the side rails. They support the mattress and keep it from sagging.
- Side rails hold the bed frame sides together
- Slats lie across the rails to support the mattress
- Slats may be wooden or metal, spaced evenly
Support Legs And Hardware
Support legs hold the bed up in the middle. They prevent the frame from bending under weight.
Hardware includes bolts, screws, nuts, and washers. These parts hold everything tightly together.
- Support legs add center support under side rails or slats
- Bolts and screws fasten the headboard, footboard, and rails
- Washers protect wood and spread pressure from bolts
- Use included tools or a screwdriver to tighten hardware
Assembling The Frame Base
Putting together a queen bed frame starts with assembling the base. The base supports the mattress and keeps the bed stable.
Follow clear steps to connect the parts safely and tightly. This guide explains how to join the side rails, footboard, and support legs.
Connecting Side Rails To Headboard
Begin by lining up the side rails with the headboard. Most frames use bolts or brackets to connect these pieces.
Make sure the holes on the rails match those on the headboard. Insert the bolts and tighten them with a wrench or screwdriver.
- Check that rails fit flush with the headboard
- Insert all bolts before tightening fully
- Tighten bolts evenly to avoid misalignment
Attaching Footboard
Next, attach the footboard to the side rails. Align the footboard so it fits between the rails evenly.
Use the same type of bolts or screws as before. Secure them firmly to keep the footboard stable and aligned.
- Match footboard holes to side rail holes
- Insert bolts or screws carefully
- Tighten all connections to prevent wobbling
Securing Support Legs
Finally, add the support legs under the frame base. These legs provide extra strength and stop the frame from sagging.
Place the legs in the center or at marked spots. Use screws or bolts to attach them firmly to the frame.
- Locate the support leg positions on the frame
- Align legs with pre-drilled holes
- Screw or bolt legs tightly for stability
Installing The Slats
Installing the slats on your queen bed frame helps support the mattress. Proper slat placement keeps the bed sturdy and comfortable.
Follow simple steps to lay out and fix the slats in place. This will make your bed safe to use.
Laying Out Slats Evenly
Start by placing the slats across the bed frame. Spread them evenly from one side to the other.
Even spacing helps the mattress stay supported without bending or sagging.
- Measure the width of the bed frame
- Divide the width by the number of slats plus one
- Place each slat using the measured gaps
- Check that slats are straight and level
Fixing Slats In Place
Once the slats are aligned, secure them to the bed frame. This stops them from moving or sliding.
Use screws or brackets to fix the slats firmly. Tighten all fasteners but avoid over-tightening.
- Mark where each slat touches the frame
- Pre-drill small holes to prevent wood splitting
- Screw slats to the frame with wood screws
- Use brackets for extra support if needed

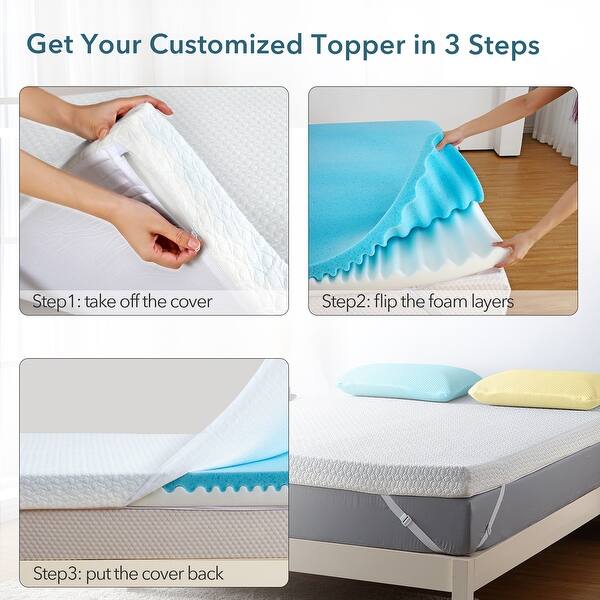
Credit: www.blissfulnights.com
Final Checks And Adjustments
After assembling your queen bed frame, it is important to check everything carefully. This ensures your bed is safe and sturdy for use.
Taking time to tighten screws and test stability can prevent problems later. These final steps help your bed frame last longer.
Tightening All Screws
Go over every screw on the bed frame. Use the right tool to tighten them firmly but avoid overtightening.
Loose screws can cause noise and make the bed unsafe. Check screws on the headboard, footboard, and side rails.
- Use a screwdriver or Allen wrench matching the screws
- Turn screws clockwise until snug
- Do not force screws past resistance
- Check screws after tightening all
Ensuring Stability
Test the bed frame by pressing and rocking it gently. The frame should not wobble or creak.
Check if all legs touch the floor evenly. Use shims under legs if the floor is uneven to improve stability.
- Press each corner to detect movement
- Listen for creaking sounds
- Add support pads if legs wobble
- Make sure the frame is level and firm
Placing The Mattress
After assembling your queen bed frame, placing the mattress is the next step. This step ensures your bed is ready for a good night's sleep.
Proper placement helps keep the mattress stable and comfortable throughout the night.
Positioning Mattress Correctly
Place the mattress flat on the bed frame. Make sure it fits inside the frame edges without hanging over.
Align the mattress so the head and foot match the frame's headboard and footboard. This keeps the mattress steady and balanced.
- Center the mattress on the frame
- Check the mattress edges align with the frame
- Avoid gaps to prevent mattress slipping
Testing Comfort And Fit
After placing the mattress, test its comfort. Sit and lie down to check if it feels right on the frame.
Make sure the mattress does not shift or move when you change positions. This shows it fits well on the bed frame.
- Sit on different areas of the mattress
- Lie down to test full support
- Look for any mattress movement
- Adjust the mattress if needed

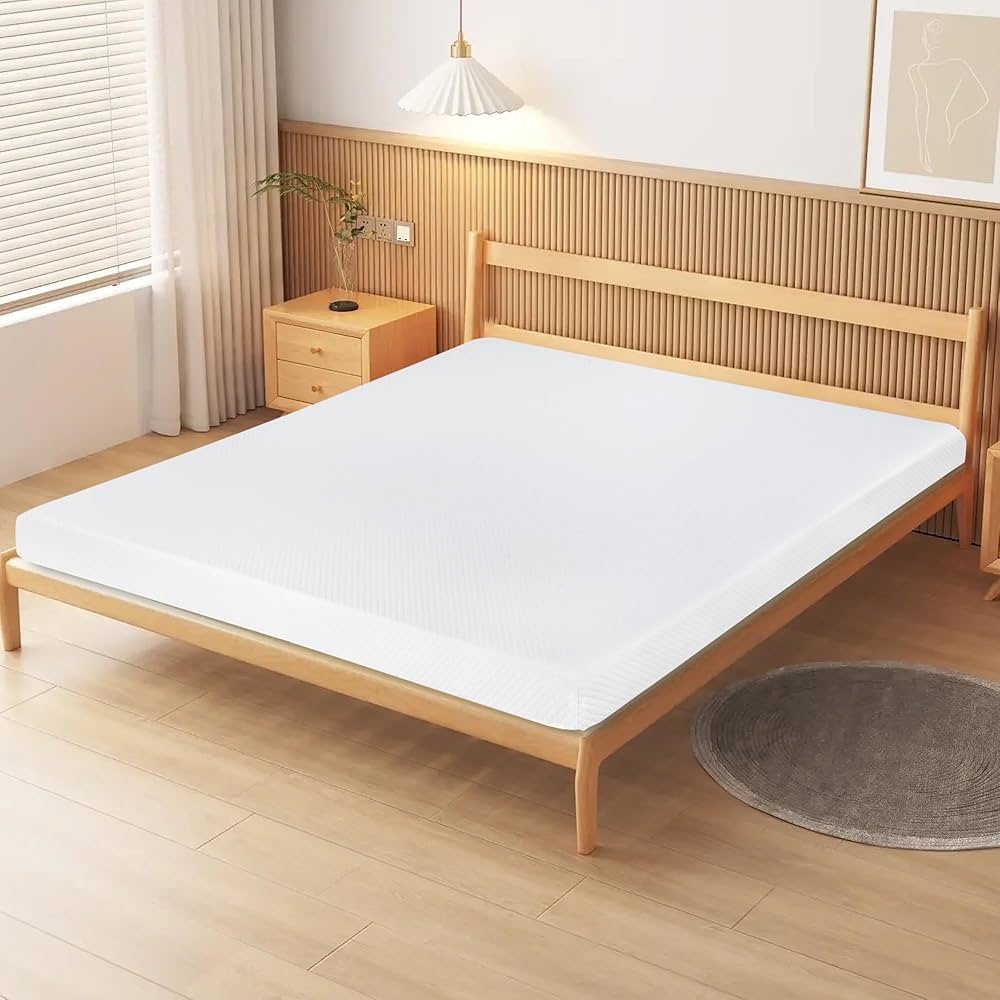
Credit: softframedesigns.com
Frequently Asked Questions
How Do I Start Assembling A Queen Bed Frame?
Start by laying out all the components and hardware. Review the assembly instructions carefully. Begin with the main frame sections and secure them using the provided screws or bolts. Ensure each piece is properly aligned before tightening. This foundation ensures a smooth assembly process.
What Tools Are Needed For Assembly?
Typically, you will need a screwdriver, wrench, and possibly a hammer. Some bed frames come with necessary tools included. Always check the instruction manual to ensure you have all the required tools. Having the right tools on hand makes the assembly process quicker and easier.
How Long Does Assembly Usually Take?
Assembling a queen bed frame typically takes 30 minutes to 1 hour. The time can vary based on the complexity of the design and your experience level. Reading the instructions carefully beforehand can help speed up the process. Having an extra pair of hands can also make it faster.
Can One Person Assemble A Queen Bed Frame?
Yes, one person can assemble it, but having help is beneficial. Some parts may be heavy or awkward to handle alone. Assistance can make aligning pieces easier and prevent potential damage. If working alone, take your time and ensure each component is securely fastened.
Conclusion
Putting a queen bed frame together can be simple and quick. Follow each step carefully and use the right tools. Take your time to avoid mistakes and ensure safety. You will feel proud once the frame stands firm. A sturdy bed frame supports better sleep and comfort.
Enjoy your new bed and rest well every night. Keep the instructions handy for future moves or adjustments. Building your own furniture gives satisfaction and saves money too.